Welcome to our comprehensive guide on painting glass splashbacks! In this blog post, we’ll explore the transformative power of painted glass in kitchen design. Glass splashbacks serve not only as a functional element, protecting walls from cooking splatters but also as an aesthetic highlight.
By painting them, you can infuse your kitchen with personalized elegance and style. We’ll walk you through each step of this DIY project, from safety precautions to the finishing touches. This guide is designed to empower even beginners to confidently and safely undertake this rewarding kitchen makeover.
Safety First
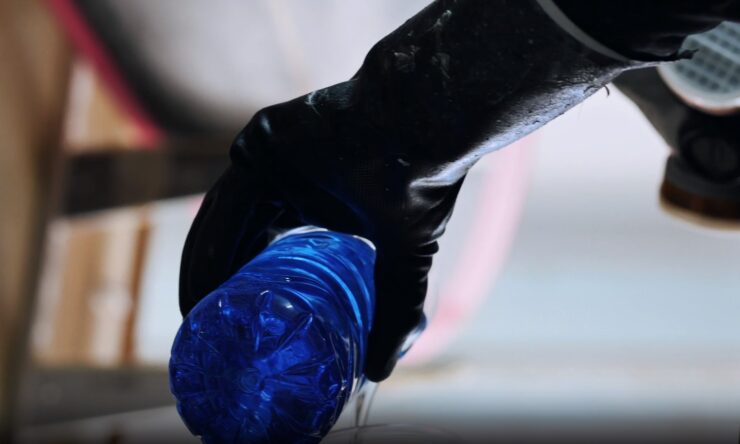
When embarking on your glass painting project, prioritizing safety is essential. It’s vital to equip yourself with the proper safety gear to avoid accidents and exposure to harmful substances. Always wear protective gloves, safety goggles, and a face mask to shield against potential chemical inhalation and protect your skin and eyes from paint splashes.
Additionally, ensure you’re working in a well-ventilated space to avoid breathing in fumes. Taking these safety precautions seriously not only ensures a smoother painting process but also contributes to your overall wellbeing.
Materials You’ll Need
To begin your glass painting journey, assembling the right materials is key. You will need a high-quality glass cleaner, fine-grit sandpaper for surface preparation, a suitable primer, and paint specifically formulated for glass surfaces.
Brushes of various sizes are necessary for different stroke techniques, and a clean, lint-free cloth is essential for wiping down the glass. Don’t forget painter’s tape for clean edges and protective drop cloths to keep your workspace clean. Having all these materials at hand streamlines the process, ensuring that you’re well-equipped to achieve a professional-looking finish.
Choosing the Right Glass

Choosing the appropriate glass for your splashback is a crucial step. The ideal glass should be sturdy and heat-resistant, ensuring durability and safety, especially when installed near cooking areas. Standard thickness ranges from 4mm to 6mm, offering a balance between robustness and ease of installation.
While clear glass is a popular and versatile choice, tinted or colored glass can add an extra layer of design and personalization to your kitchen. Consider the overall aesthetic of your space when selecting the color and transparency of the glass, as it can significantly influence the final look of your splashback.
Surface Preparation
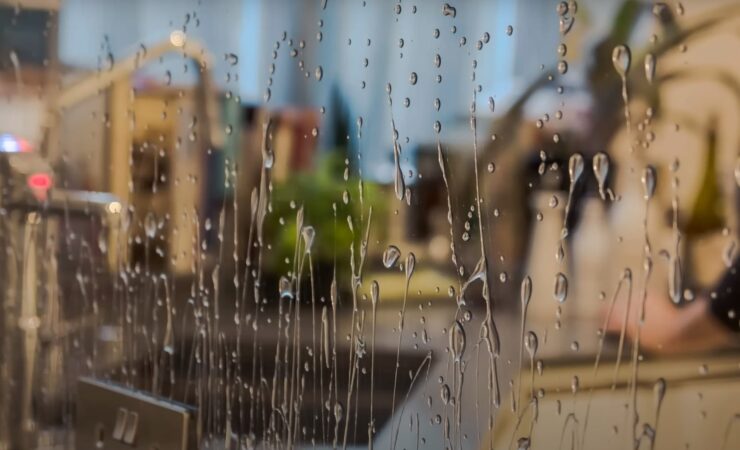
The key to a flawless paint job is in preparing the glass surface properly. Start by thoroughly cleaning the glass with a high-quality glass cleaner to remove any grease, dirt, or fingerprints. After cleaning, gently sand the surface with fine-grit sandpaper.
This creates a slight abrasion, allowing the primer and paint to adhere better. Wipe the glass with a damp cloth to remove any dust from sanding, then let it dry completely. Paying attention to these preparation steps ensures that your painted splashback will not only look impeccable but will also have a long-lasting finish.
Priming the Glass
Applying a primer is an essential step in painting kitchen glass splashbacks such as those from directsplashbacks. The primer serves as a foundation, enhancing the paint’s adherence to the glass. Choose a primer specifically designed for glass surfaces. Apply it evenly with a brush or roller, ensuring complete coverage without leaving any drips or streaks.
Allow the primer to dry as per the manufacturer’s instructions. This step is crucial for creating a smooth, even base that will help your chosen paint color pop and adhere effectively, ensuring durability and resistance to wear and tear.
Selecting Paint
The choice of paint is crucial in determining the look and longevity of your splashback. Opt for paint specifically formulated for glass surfaces. These paints are designed to bond with the glass and resist heat and moisture, which are common in kitchen environments.
Consider the finish – glossy paints are popular for their reflective quality, while matte finishes can offer a more subdued, elegant look. When selecting the color, think about the overall kitchen color scheme and how the splashback will complement it. Vibrant colors can create a focal point, whereas neutral tones can blend seamlessly with the existing decor.
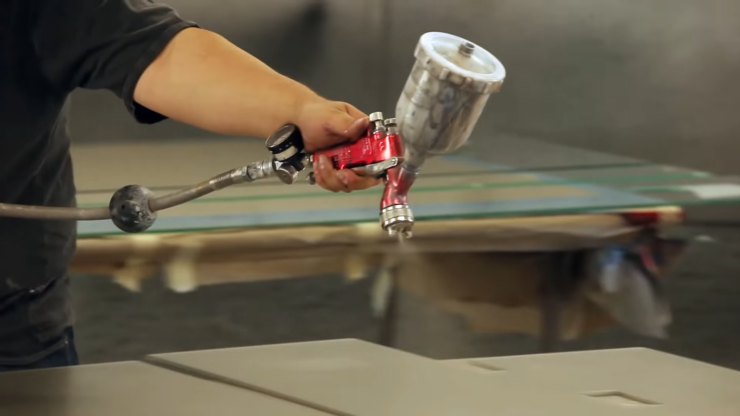
Applying Paint
Applying paint to the glass splashback requires patience and precision. Use a high-quality brush or a roller for an even application. Start from one corner and work your way across in smooth, consistent strokes to avoid streaks. If you’re aiming for a more opaque look, apply multiple thin layers, allowing each layer to dry completely before applying the next.
This method helps prevent drips and ensures a more even, professional-looking finish. Be mindful of the edges and corners, using painter’s tape if necessary to achieve clean lines. The key is to work methodically, ensuring each stroke contributes to an even, flawless finish.
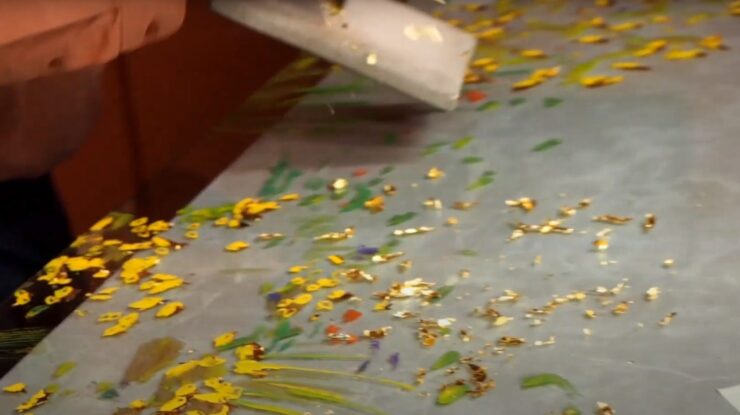
Adding Color and Design
This stage is where creativity comes into play. If you wish to add patterns or designs to your splashback, now is the time. Use stencils, masking tape, or freehand techniques to create designs. Adding contrasting colors, geometric patterns, or even simple stripes can transform your splashback into a piece of art.
Remember, less is often more – a simple design can sometimes make a stronger statement. If you’re not confident in your artistic skills, consider using pre-made stencils for a professional look. Whatever design you choose, it should enhance the overall aesthetic of your kitchen.
Drying and Curing
After painting, it’s essential to let the splashback dry and cure completely. Follow the paint manufacturer’s recommended drying time. This process can take anywhere from a few hours to a couple of days. Proper drying and curing are crucial for the durability of the paint. Avoid touching or moving the glass during this time. Once dry, the paint will become more resilient to heat, moisture, and everyday wear and tear, ensuring your newly painted splashback maintains its beauty for years to come.
Cleaning and Maintenance
Maintaining your painted glass splashback is straightforward. For cleaning, use a soft cloth and a non-abrasive cleaner. Avoid harsh chemicals or abrasive tools, which can damage the paint surface. Regular cleaning prevents build-up of grease and grime. If scratches or chips occur over time, they can often be touched up with a small amount of paint. Proper care and maintenance will keep your splashback looking as good as new and ensure its longevity in your kitchen.
Conclusion
Painting a glass splashback is a rewarding DIY project that can dramatically transform your kitchen. By following these steps – from preparing the surface to adding your final design touches – you can create a stunning and unique feature in your home. Remember to prioritize safety, take your time with each step, and let your creativity shine. With the right preparation and technique, you can turn a simple piece of glass into a vibrant, stylish focal point in your kitchen.