Removing floor tiles from concrete may seem daunting, but with the right knowledge and tools, it can be a seamless process. Whether you’re renovating your space or replacing damaged tiles, this guide will walk you through the essential steps to ensure a successful tile removal project.
We’ll start by emphasizing the importance of doing it seamlessly and then provide step-by-step tips to help you achieve just that.
Safety First
Before diving into tile removal, safety should be your top priority. Wearing protective gear is non-negotiable. Safety goggles will shield your eyes from flying tile fragments, and a dust mask will prevent you from inhaling harmful particles.
Sturdy work gloves will protect your hands, and knee pads will provide comfort during extended periods of kneeling. Understanding potential hazards, such as sharp edges and electrical wires, is crucial. We’ll guide you on how to avoid these risks and ensure a safe working environment.
Gather the Necessary Tools

To make the tile removal process efficient, you’ll need the right tools and equipment. A floor scraper or chisel will be your primary tool for prying up tiles, while a hammer or mallet will aid in the process. A power drill with a mixing paddle attachment is essential if you choose a chemical method.
A heavy-duty plastic tarp will help contain debris, and a shop vacuum will keep your workspace clean. We’ll explain the functions and importance of each tool, as well as where you can obtain or rent them. If you don’t have the right tools you’re better off hiring professionals such as ctmiddletowntileinstallers.com.
Preparing the Work Area
Properly preparing your work area is key to a successful tile removal project. Adequate ventilation is essential to dissipate dust and fumes, so consider using fans or opening windows. Good lighting will ensure you don’t miss any details.
Clearing the area of furniture and obstacles is a must to provide ample space to work. We’ll guide you on how to achieve these preparations, setting the stage for a smooth tile removal process.
Assessing the Tile Type
Identifying the type of tiles on the concrete is a crucial step as removal techniques may vary. Ceramics, porcelain, and other materials each have unique properties that influence how they are removed.
We’ll explain how to differentiate between these types of tiles, whether it’s through visual inspection or checking with the manufacturer’s information. Knowing the tile type will allow you to select the most appropriate removal method.
Methods for Removing Floor Tiles
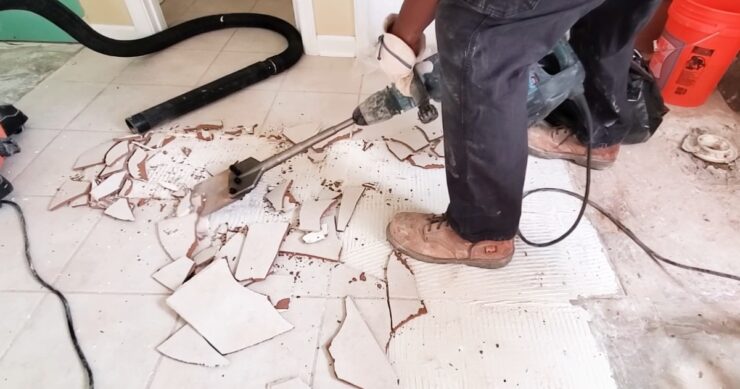
Now that you’ve taken all the necessary precautions and gathered the tools, it’s time to explore the methods for removing floor tiles. There are several approaches you can take: manual, mechanical, and chemical. Each method has its pros and cons.
Manual removal is labor-intensive but offers more control, while mechanical methods, such as using a jackhammer, are quicker but may be noisy and cause more dust. Chemical methods involve the use of solvents to loosen tile adhesive.
We’ll discuss these methods in detail, providing insights into when to use each one and helping you decide the most suitable approach for your specific scenario.
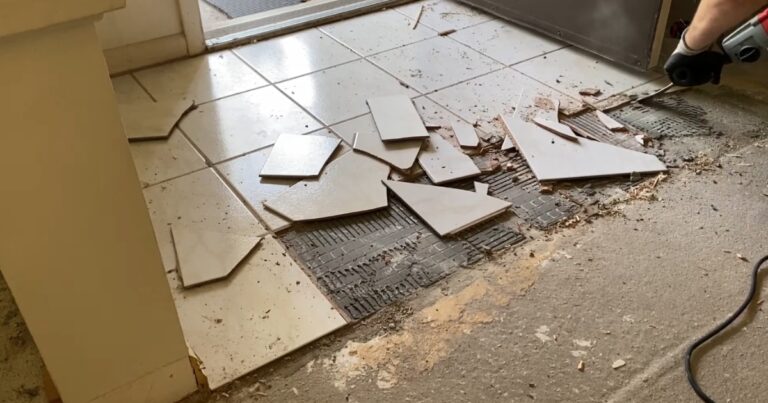
Step-by-Step Tile Removal
Removing old tiles can be a daunting task, but with the right approach, it can be done efficiently. Begin by gathering the necessary tools: a chisel, hammer, safety goggles, and gloves. Start in a corner or along an edge, positioning the chisel beneath the tile at a slight angle.
Apply gentle pressure and tap the chisel with a hammer. Gradually work your way under the tile, keeping it intact if possible. Once the first tile is removed, repeat the process for the others, taking care not to damage the concrete beneath. Proceed systematically, and be patient; tile removal requires precision.
Maintaining a pristine home involves not only knowing when to run your automated cleaning device but also understanding the importance of seamlessly removing floor tiles for a comprehensive approach to household upkeep.
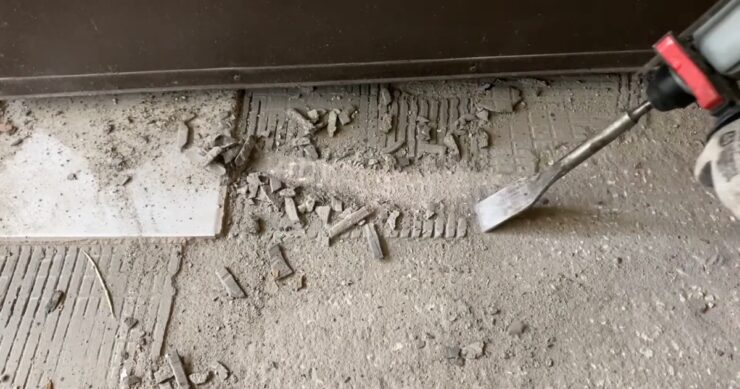
Dealing with Adhesive Residue
After tile removal, you’ll often encounter adhesive residue on the concrete. Removing this residue is crucial for a smooth surface. Begin by scraping off as much adhesive as possible with a putty knife or scraper.
For stubborn residue, use a commercial adhesive remover following the manufacturer’s instructions. It’s essential to ensure that the concrete is clean and adhesive-free before proceeding.
Repairing and Preparing the Concrete
Inspect the concrete for any damage caused during tile removal. If there are cracks or uneven surfaces, they need to be addressed. Start by cleaning the damaged area and applying a concrete patching compound.
Follow the product guidelines to level the surface and allow it to dry thoroughly. Once the concrete is repaired, it’s time to prepare it for new flooring installation. Sweep and vacuum the surface to remove debris and ensure it’s clean and ready for the next steps.
Cleaning and Maintenance
Cleaning up the workspace after tile removal is essential for safety and efficiency. Remove all debris, including broken tiles, adhesive scraps, and dust. Sweep the area thoroughly, and use a vacuum cleaner with a HEPA filter to capture fine particles.
Properly dispose of the debris according to local regulations. To maintain the concrete surface, regularly sweep or mop it to prevent dust buildup. For deeper cleaning, use a mild detergent and warm water. Avoid abrasive cleaners that can damage the surface. By keeping the area clean, you ensure the longevity of your concrete floor.
Finishing Touches
Achieving a smooth, clean, and dust-free concrete surface is vital for the success of your new flooring installation. Consider sealing or finishing the concrete, depending on your preferences and the type of flooring you plan to install. Sealing concrete helps protect it from stains and moisture while providing a polished appearance.
There are various concrete sealers available, so choose one that suits your needs. Apply the sealer evenly and allow it to dry according to the manufacturer’s instructions. A well-prepared concrete surface enhances your space’s aesthetics and ensures a stable foundation for your new flooring.
Conclusion and Next Steps
In this guide, we’ve covered the essential steps for successful tile removal and concrete preparation. By following these steps, you can achieve a clean and smooth concrete surface ready for your new flooring. Remember to exercise caution during tile removal, address adhesive residue, repair any concrete damage, and maintain the cleanliness of the area.
Whether you’re planning to install new tiles or opt for a different flooring material, a well-prepared concrete surface is the key to a seamless and durable result. Apply these tips to your next home improvement project, and you’ll enjoy the benefits of a professionally prepared foundation for your flooring.