Installing proper shower plumbing is more than a mere task; it’s a crucial step in ensuring a functional, efficient, and leak-free bathroom experience. A small oversight can escalate into leaks, significant water damage, and the need for expensive repairs.
This article is crafted to provide you with comprehensive, expert tips that will guide you through each phase of your bathroom upgrade. By following these guidelines, you will be able to tackle the complexities of plumbing installation with ease and assurance, transforming your bathroom renovation from daunting to doable, ensuring the result is both successful and enduring.
1. Gather Your Tools
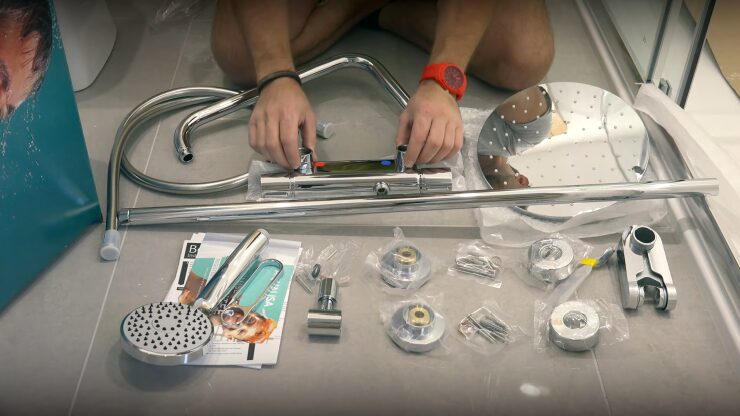
Commencing a plumbing project without the appropriate tools and materials is like setting sail without a compass. Essential tools for the job include pipe cutters for precise cutting, wrenches for tightening, Teflon tape for sealing, a drill for creating openings, screws for securing, a level for accuracy, and measuring tape for exact measurements.
On the materials front, you’ll need pipes, fittings, a shower valve, and a drain assembly. These tools and materials form the backbone of your installation process, ensuring you can accurately measure, cut, and join pipes, as well as securely fix fixtures in place. Having the right tools at your disposal is not just about convenience; it’s about ensuring the integrity and success of your entire plumbing project.
2. Shut Off Water Supply
The critical first step in any plumbing project is ensuring the safety of your workspace, which begins by turning off the water supply to your bathroom. This essential precaution prevents any unexpected water flow, minimizing the risk of flooding and facilitating a safer installation environment.
To accomplish this, locate the main water valve of your house and turn it to the off position. To verify the shutdown is effective, open a faucet in another part of the house to ensure no water flows through. Taking this step seriously ensures that you can work on your plumbing without the risk of water-related accidents, setting a solid foundation for a successful installation process.
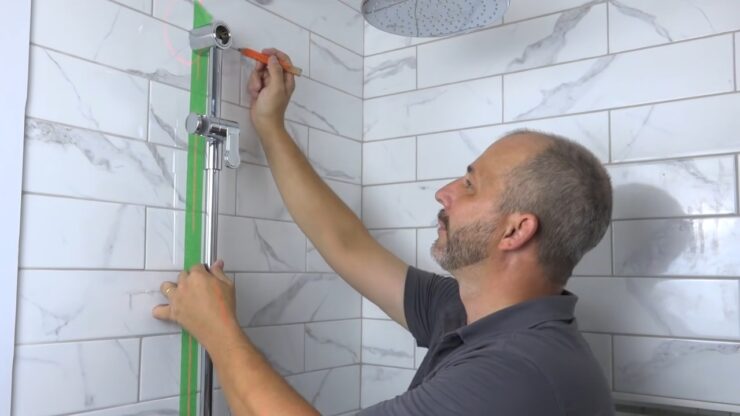
3. Plan Your Plumbing Layout
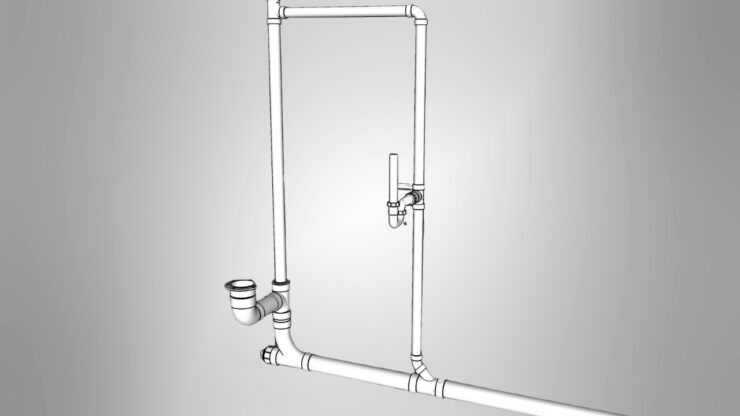
A well-thought-out plumbing layout is the blueprint for a successful installation. This step involves more than just measuring the space; it requires strategic planning, marking where pipes and fixtures will be installed, and ensuring everything aligns properly with both the bathroom’s design and existing plumbing infrastructure.
Consider the shower’s location in relation to the water supply and drainage lines, taking into account any structural limitations and building codes. Proper planning at this stage can prevent common pitfalls, such as improper slope for drainage or insufficient water pressure, ensuring a smooth installation process and avoiding costly corrections down the line. For a better layout you should look for more info.
4. Select the Right Pipes and Fittings
The longevity and reliability of your plumbing system heavily depend on selecting the appropriate pipes and fittings. With options ranging from PVC, known for its affordability and ease of installation, to copper, prized for its durability and resistance to corrosion, and PEX, flexible and easy to install, the choices are vast.
The decision should be based on various factors including the compatibility with your water type, the temperature range the system will operate in, and the overall design aesthetics of your bathroom. This selection process is not just about what works now but also what will continue to perform well in the long term, ensuring your plumbing system remains robust and functional for years to come.
5. Cutting and Joining Pipes
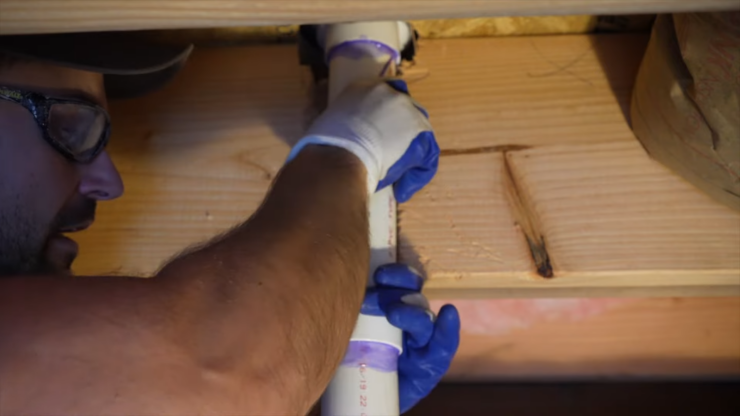
The process of measuring, cutting, and joining pipes requires precision and attention to detail. Accurate measurements and clean, straight cuts are essential for ensuring the pipes fit together correctly, preventing leaks. After cutting, deburr the pipes to remove any sharp edges, then join them using the appropriate fittings.
Applying Teflon tape or pipe dope to the threads before screwing the fittings together helps create a watertight seal. It’s crucial to follow manufacturer instructions for each type of pipe and fitting to ensure they are joined securely, as this is key to preventing leaks and ensuring the stability of your plumbing system.
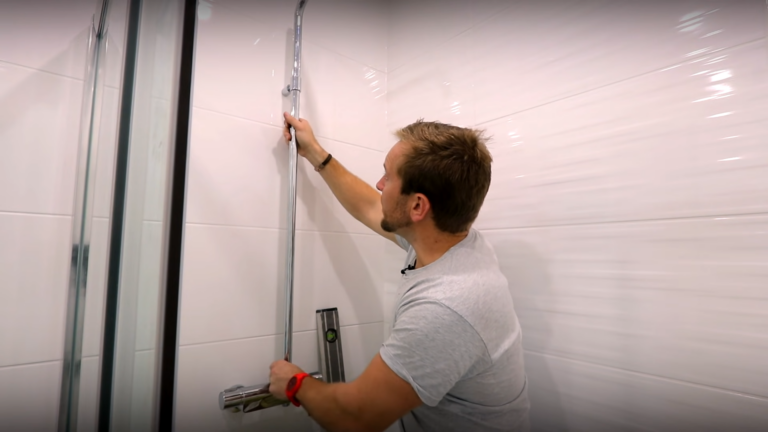
6. Installing Shower Valve
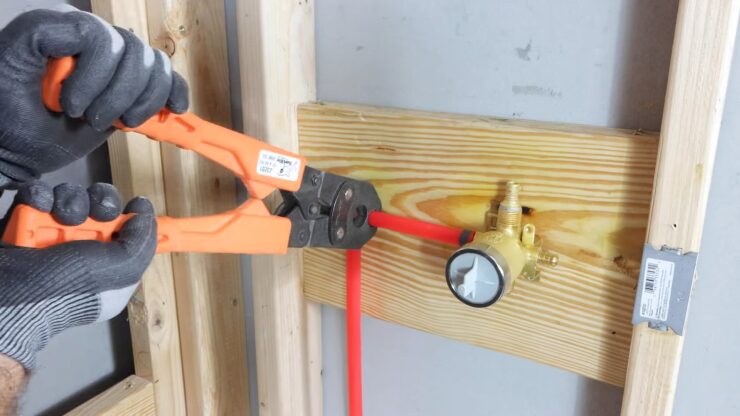
The installation of the shower valve, a pivotal component in controlling water flow and temperature, demands precision. Its placement not only affects the shower’s functionality but also its aesthetic appeal. The valve should be installed at a standard height—typically between 38 to 48 inches from the shower floor—and must be level for optimal performance.
Securing the valve in place often requires installing blocking behind the wall, providing a stable base for the valve and future wall fixtures. The correct installation of the shower valve is a critical step in ensuring a pleasant and efficient shower experience.
7. Connect Drainage System
Efficient water drainage is critical to any shower’s functionality, making the connection of the shower drain to the existing plumbing system a task requiring meticulous attention to detail. This includes ensuring the shower base is properly aligned with the drain assembly and that the P-trap is installed correctly to prevent sewer gases from entering the bathroom.
Waterproof sealants and tight connections are your best defense against leaks. This phase is pivotal in creating a system that efficiently directs water away, ensuring your shower remains clean and hygienic.
8. Test for Leaks
Testing the newly installed plumbing for leaks is a non-negotiable final check before closing up walls and moving on to finishing touches. After turning the water supply back on, inspect every connection meticulously for any sign of moisture or drips.
Special attention should be paid to critical areas like the shower valve and drain assembly. Discovering and addressing leaks at this stage can save you from future headaches and potential damage, ensuring the integrity of your plumbing system and the safety of your home.
9. Insulate and Secure Pipes
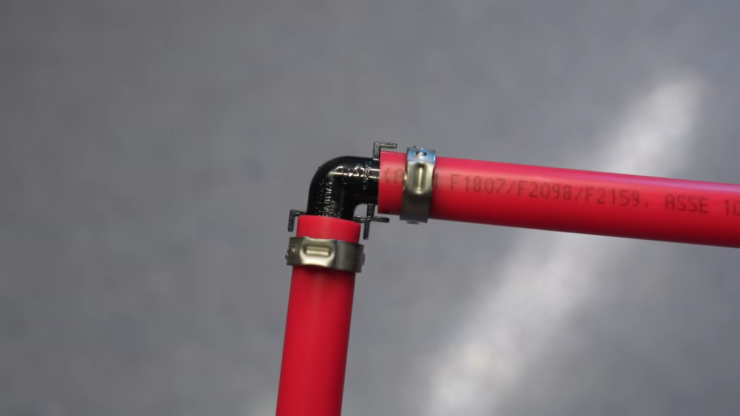
Insulating and securing pipes goes beyond just preventing freezing or condensation; it’s about safeguarding the efficiency and quiet operation of your plumbing system. Insulation sleeves reduce heat loss and guard against freezing, which is especially important in colder climates.
Securing pipes with clamps or straps minimizes movement and noise, preventing potential damage and maintaining the tranquility of your bathroom space. This step is essential for the longevity and performance of your plumbing, contributing to a comfortable and worry-free bathroom environment.
10. Final Connections
Making the final connections involves attaching the showerhead, faucet, and any other fixtures, marking the culmination of the plumbing installation. This stage is critical for ensuring everything works together seamlessly, from achieving the perfect water flow to maintaining the desired temperature.
Testing each fixture for functionality and making any necessary adjustments is key to finalizing your project. With everything connected and working as it should, your bathroom upgrade is nearly complete, bringing you closer to the moment you can enjoy the fruits of your labor.
Conclusion
Embarking on a shower plumbing installation project is a significant undertaking that requires careful planning, precision, and attention to detail. Following the expert tips outlined in this article will not only guide you through the process but also help ensure your project’s success.
When considering the relocation process, it’s important to note that bathrooms are often deemed the trickiest rooms to pack due to their numerous small items and delicate fixtures.
From selecting the right materials to testing for leaks, each step is crucial in achieving a seamless bathroom upgrade. By taking on this challenge with diligence and care, you can enhance your bathroom’s functionality and aesthetics, adding value and comfort to your home.